Tuesday, December 19, 2017

Aunt Gella’s Fudge

This is the best fudge ever!  Mrs. Charlotte Riley’s in Ridgely, Tennessee was actually THE pinnacle of all fudge in my opinion (she made it with actual Hershey's Bars),  but this one is definitely worth the calories!  I usually make half chocolate pecan and half peanut butter pecan.  You will need a jelly roll pan for best results.  Here we go:

4 1/2 cups sugar
1 large can of Pet Milk
    Cook this in a large pan and stir until a rolling boil that won’t stir down. Lower heat and cook for 15 - 20 minutes stirring constantly until it reaches soft ball stage in cold water.

Remove from heat and pour over:
18 oz chocolate chips
42 large marshmallows
2 sticks BUTTER
1 Tablespoon vanilla extract

Beat by hand with a wooden spoon until creamy then add 2 cups chopped pecans.
Pour in to buttered jelly roll pan.  Refrigerate until set then cut in to 1 inch square pieces.  I put each piece in mini cupcake paper. Keep cool.
You can divide the mixture by using two bowls.  Just use peanut butter chips in one. Chocolate in the other.  Each bowl will use about 2 cups of the liquid.  You can pour them and swirl or layer chocolate on bottom and PB on top.  Sprinkle with crushed pecans!  Merry Christmas  ❤️
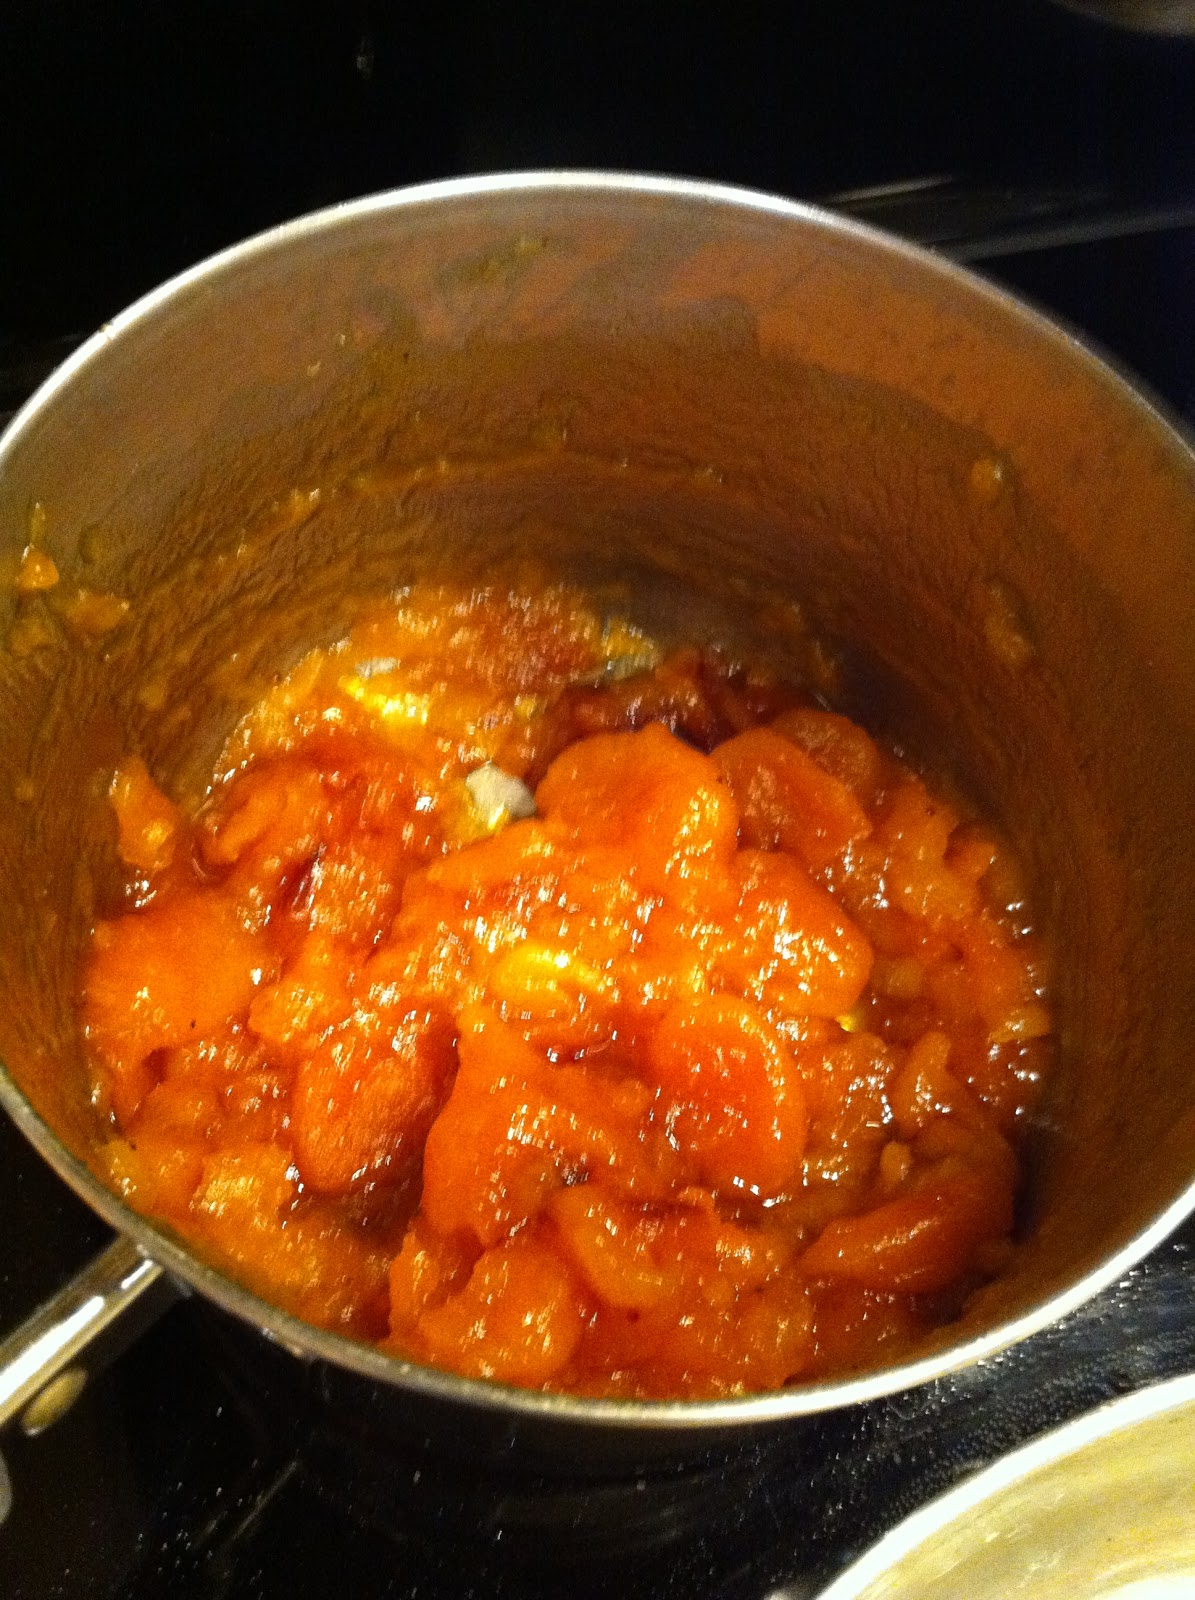
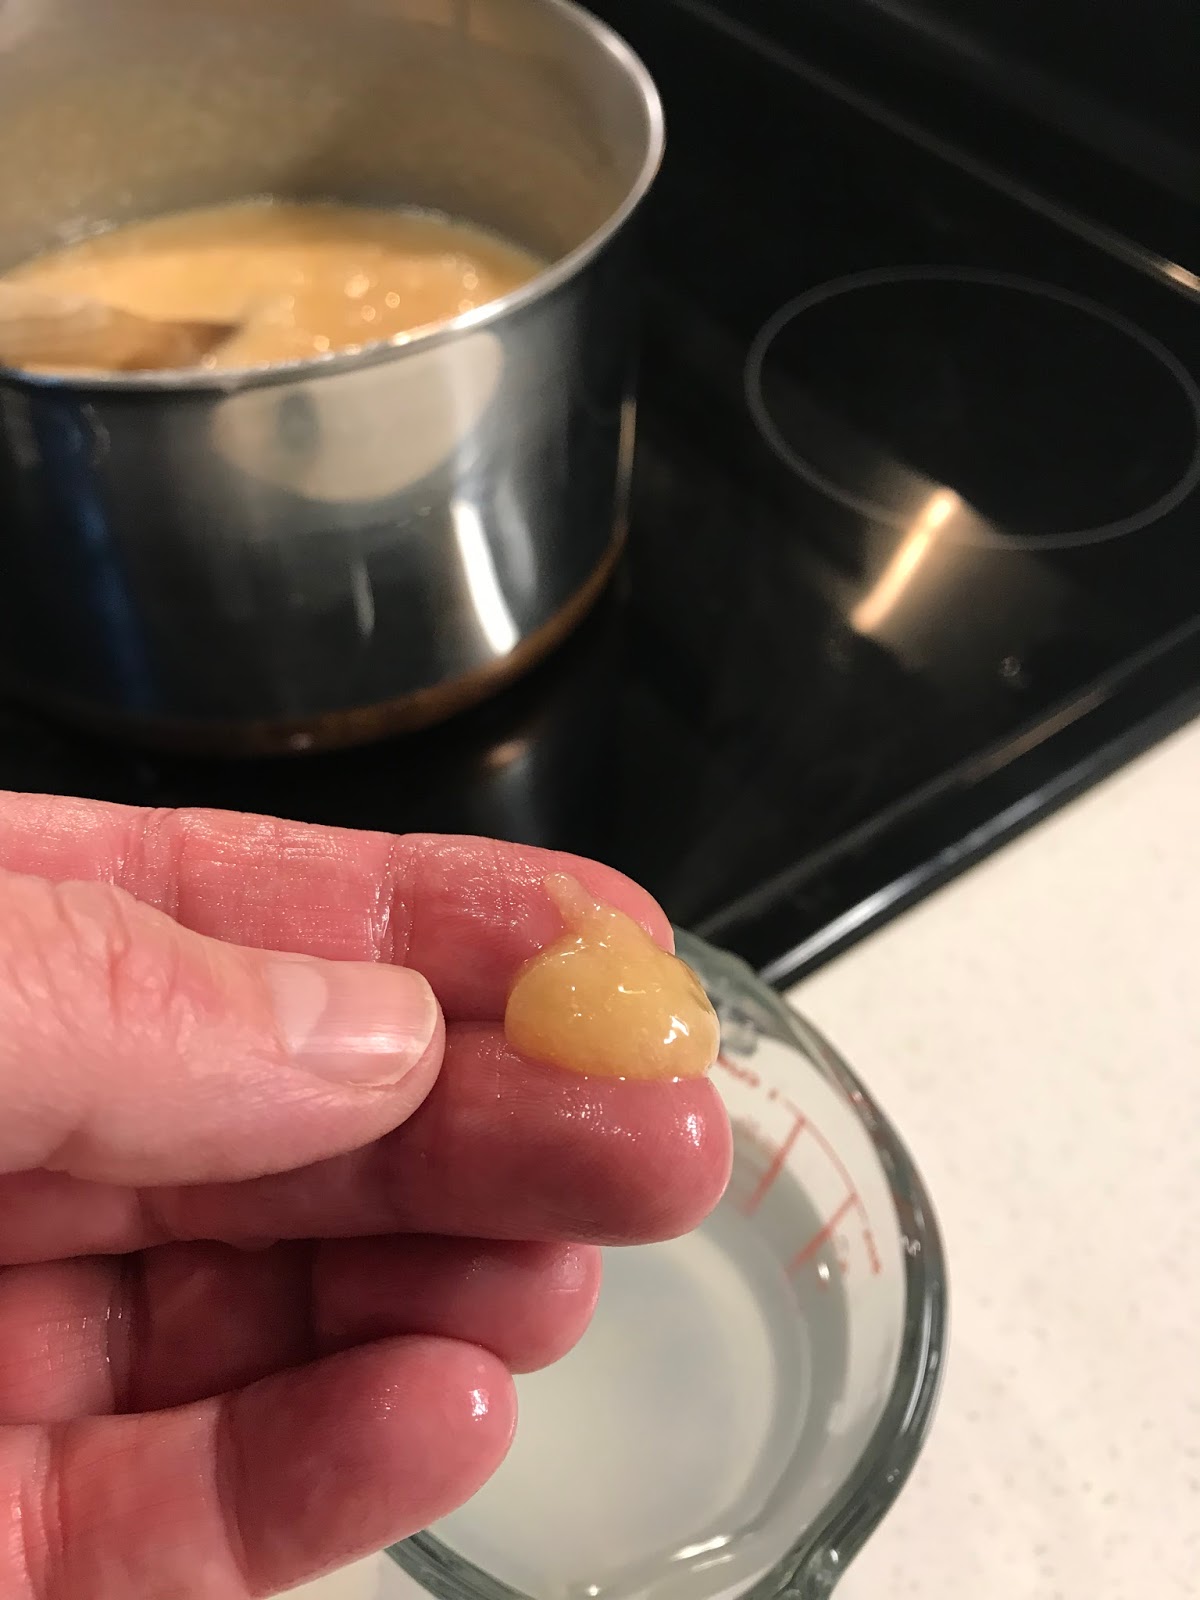
Cook until rolling boil that won't stir down!  Turn heat down and continue to stir and cook until soft ball sage

Soft ball stage is when the mixture will form a soft "ball" when drizzled into cold water


If you're lucky, you can get help with the beating!  It takes some time!


Monday, December 14, 2015

Christmas Cookies

Christmas Cookies


I've had some people asking for my recipe for making beautiful Christmas Cookies.  Here we go. 


Martha's Christmas Cookies
1 cup softened butter
1 cup sugar
2 eggs
1/2 teaspoon almond extract
1/2 teaspoon vanilla extract
3 1/4 cup all purpose flour
1/2 teaspoon baking powder
1/2 teaspoon baking soda
1/2 teaspoon salt
***COOKING LESSON....I only use "real" butter...no subs!  I use Martha White flour exclusively! I use Domino or Imperial Sugar....why?  Because it has a finer texture than "cheap" sugar. Never use "imitation" vanilla or almond flavoring...get the real deal...Vanilla Extract!   Make sure your baking powder and baking soda is FRESH!  Yes, it does expire, so if you have some in the cabinet that you bought over six months ago....toss it!  You will get better results with fresh.

In advance, make sure you have plenty of PARCHMENT PAPER, a rolling pin, cookie cutters, decorations, meringue powder (it is expensive, but I always get a better product than using fresh egg whites) Wal Mart does carry it - in the Celebrations Department...with Wilton cake pans, etc., and at least 4 plastic bottles with tips .... like restaurants used for mustard or ketchup.

1.  Cream butter and sugar....cream means to beat until they form a light, uniform and creamy mixture. Once sugar and butter are properly creamed, the sugar crystals will have dissolved, resulting in a smooth texture.  Scrape down sides.
2.  Add eggs, almond and vanilla
3.  Mix all dry ingredients in a separate bowl.  Add very slowly to the butter cream mixture until well incorporated.
4.  Roll dough into ball and cover it with plastic wrap.
5.  Chill dough ball at least 30 minutes.
6.  Using half of the dough at a time, roll dough out on a lightly floured piece of parchment paper until 1/4  inch thick. 
7.  Using cookie cutters, cut out the desired shapes.  Don't reuse the dough pieces over a couple of times...place on parchment paper covered cookie sheet. 
8.  Chill in fridge again by carefully moving the cookie sheet to the fridge.  Chill at least 15 minutes.
9. Bake cookies for 10 minutes (depending on your oven) or until they are light in color with slight browning on the edges.
10. Cool on parchment sheet.  Cookies are very fragile....especially the snowman neck!!!!  Trust me, I have beheaded many snowmen!!!!


Icing

Royal Icing with a kick....

1 lb. XXX Confectioners Sugar
5 Tablespoons Meringue Powder
1/2 cup water
1/4 teaspoon Butter flavoring
1/4 teaspoon Vanilla extract
1/4 teaspoon  Almond extract

Mix confectioners sugar, meringue powder, water and flavors together until nice and fluffy. 
Take out part of this thick icing for your borders...you can add color to this if you do not want white borders on your cookie.
Gradually add water to the icing to make a thinner icing to "float" the inside of the border of the cookie.  You can add coloring if you do not want white. 
I fill one plastic bottle with the thick icing, one with the "float" frosting, one with a colored icing I am using and one with a colored "float" icing if I am doing that. 
TRICK....How do you get the icing in those little plastic bottles????  I use quart zip lock bags.  They are easy to fill then I zip them up...cut off a little of the corner at the bottom and squirt that right into the bottle...NO MESS! 
*I don't use much black...it just has a bitter taste.  I just outline the snowman's hat.  I buy the black in tubes at the store....impossible to make it.

I hope these work out for you....don't hesitate to call or email me if you need help! 


Monday, March 4, 2013

Burlap Crazy!

I'm loving the country, shabby chic look of good old burlap!  My DIL used it for her Thanksgiving and Christmas decorations this year and I loved the look!  I decided to create a table runner with a little twist to use for all seasons.  By adding a little cotton lace ... you can use this for any occasion.
Here are some pictures to demonstrate how I did it with fabric glue.  This will be cute for Easter decorations!


Wednesday, December 5, 2012

Christmas Cards....getting organized!

I'm back up in PA for a week or so before heading South once again for the Holidays.  We've been on our Southern tour since before Halloween and just got home a couple of days ago....felt the need to check on things since Hurricane Sandy came thru.  We only had a few small issues that were quickly resolved...I'm still amazed that my two red lanterns on the deck were STILL THERE!  They were hanging only on Shepherd's hooks attached to the deck railing.  There were 65 mph winds, beating rain...but they stayed put!  I figured they'd be somewhere in New Jersey!
The weather is mild today, but not for long.  We are very lucky to get in and out before a snow!
 
As for my Christmas cards.....I had them done in Austin, ordered them while in Dallas (had them shipped to Dallas)....the very next day, Paul decided we needed to make a quick trip back to PA!  Soooo I had Sarah ship them to me here by second day FedEx......cost a fortune, but what do you do?
If you get a card from us, please consider the traveling this card has already done!   Oh, and I ordered an additional 25 cards from a hotel in Virginia and they arrived here before the original order did....It won't be here until Thursday!

Our photo session was in Austin, Texas at the Old Settlement Park (or something like that) on the Wednesday before Thanksgiving.  My entire crew was there and it was so much fun.  The little boys loved the old rusted farm equipment and the red bard.  We didn't plan on what we wore other than I asked them to dress casual, country, western.....boots, hats, buckles, etc.  The girls would just dress "cute" and casual.  It was so cool that we all actually sort of "matched".....we had no color scheme!
I will forever smile when I look at the picture from a wonderful day.
 
I love sending and receiving Christmas Cards!  In these times of electronic relationships, it is so nice to receive a sweet note in the MAIL!  SNAIL MAIL!   My Mother always displayed all the cards on the piano....I loved reading them all. 

I'm not posting our actual Christmas Card picture, but I'll post one of the final choices......I sent the boys out to cut a cedar tree for our Christmas tree...what I got was a cedar limb...very sad, Charlie Brown looking limb!  Will is holding it here in this picture, but it just didn't make my cut.  I did love the old red truck, but it didn't make my final cut either. 


Send me a card.....I'll keep it forever! 
1247 Valley of Lakes
Hazleton, PA  18202........I'm having my mail forwarded to TX!

Have a Very Merry Christmas and a Wonderful 2013!

Monday, July 30, 2012

Another recipe....but a great one!

1983 - Jacques and Suzanne: Memories (and a recipe!) from the legendary Little Rock restaurant.
http://www.arktimes.com/arkansas/1983-jacques-and-suzanne/Content?oid=964945
Here's another great recipe from a grand old restaurant.  I've made this so many times and it is without a doubt the BEST Pound Cake I've ever tasted! 

Lemon Pound Cake
1/2 cup finely crumbled sugar cookies
3 cups all purpose flour
2 t baking powder1/2 t salt
1/2 pound REAL butter
2 cups granulated sugar
4 eggs
1 cup whole milk
2 T fresh lemon zest
few drops lemon extract
GLAZE
1/3 cup fresh lemon juice
3/4 cup granulated sugar

Preheat oven to 325 degrees.  Butter a 9 inch tube pan and coat with cookie crumbs.
Sift dry ingredients together.  Beat buttter and sugar until creamy.
Add eggs - one at a time, beating after each addition.
Mix in dry ingredients alternately with milk.  Stir in lemon zest and extract.
Turn batter in to prepared pan.  Smooth top.

Bake 1 hour 15 minutes or until cake tests done.  Cool 5 minutes in pan, loosen sides and invert on a cake rack to remove.  Turn cake so the top of the cake is on top!
Immediately glaze cake by bringing lemon juice and sugar to a boil.

Thursday, June 7, 2012

Tres Leches Cake

It has been months since I have updated my Blog.  So much has changed with Blogger that I'm not even sure what I'm doing anymore!  I wanted to post a new receipe that is just amazing!  My sons LOVE this cake and so do I.  If you have ever tried it in a Mexican restaurant...you'll know why.  This is the best recipe EVER for Tres Leches!  Go ahead and put on those stretchy waist pants.....


Three Milk Cake (Pastel de Tres Leches)
Adapted from an old recipe in the Houston Chronicle.           Martha Helton


1 ½ cups all-purpose flour                                           ½ cup whole milk                            

2 teaspoons baking powder                                        Three-Milk Topping (recipe follows)

4 eggs – separated                                                        Whipped Cream Topping (recipe follows)

1 ½ cups sugar

Preheat oven to 350 degrees.  Grease and flour a 13 X9X2 inch baking pan.  Sift flour with baking powder.  In large bowl with clean beaters, beat egg whites until fluffy.  Add sugar gradually, beating to form stiff peaks.  Add yolks, one at a time.  Fold in flour mixture and milk; mix well, but don’t beat.

Pour batter in to prepared pan and bake until edges are golden brown, about 30 – 35 minutes.  Remove from oven; let cool on rack.  Prepare Three-Milk Topping.  Pour Topping over cake and let sit until all mixture is absorbed, 20 to 30 minutes.

Prepare Whipped Cream Topping and refrigerate.  Before serving, cover top and sides of cake with Whipped Cream Topping.  Cut cake into squares and serve, or spread Whipped Cream Topping over squares of cake…Garnish with fresh berries.

Three- Milk Topping

1 12 oz. can evaporated milk                                      1 teaspoon vanilla extract

1 cup sweetened condensed milk                              1 tablespoon light rum

1 cup whipping cream

Combine all ingredients in a mixing bowl and whisk until well mixed.   Keep in refrigerator until cake is baked and then pour over top of cooled cake.

Whipped Cream Topping

2 cups whipping cream

1 tablespoon sugar

1 teaspoon almond extract

Chill cream, bowl and beaters thoroughly.  Beat cream until it begins to thicken.  Gradually add sugar and extract and beat until stiff peaks form.

Friday, October 21, 2011

Apricot Fried Pies


Fried pies is a Southern tradition that is one of my favorite!  That flaky crust - the not too sweet filling - cooked perfectly...so not too greasy is an art.  I've combined recipes/methods from my Grandmother, my Mother and my Mother-in-Law to come up with a good one.  Hope you will try it and enjoy!

Ingredients:
4 cups all purpose flour
2 teaspoons salt
1 cup Crisco shortening
1 cup milk (whole or 2%)
14 oz.dried apricots
3/4 cup sugar
1/4 teaspoon ground cinnamon
peanut oil for frying

Directions:
Filling:  Cook apricots and sugar in a medium saucepan.  They wil expand when cooked!  Add enough water to cover the fruit and cook over low heat until the fruit is tender and falling apart.  When done, add cinnamon and mash fruit with a fork. Continue to cook until thick and all water is absorbed.
At this point you may chill the fruit and finish the pies another day.  It actually cooks better when the fruit is cool.
Crust:  In a large bowl, mix the flour and salt.  Cut in shortening with a pastry knife until it is crumbly and resembles coarse meal.  Mix in the milk and stir (I use my hands) until dough forms a ball.  Divide dough into two equal parts, then four, then six.....on until you have 16 balls of dough.  Roll each ball into a 6 inch circle...I use a 6 inch saucer to "cut" the circle.  Go ahead and cut all the circles before you start the cooking process. 
Preparing:  Place less than 1/4 cup of filling in the center of each pie.  Fold over and seal edges with a fork that you dip in water.  Only prepare two at a time!  You don't want them  to sit with the filling in them before they are cooked...the pastry will get wet.
Cooking: Using a 9 inch skillet, add 1/2 to 3/4 inch of oil and heat on medium-high.....just until oil is hot, but not smoking!  Place pies - two at a time in the hot oil.  You may need to turn the heat down to medium.  Fry until brown on one side, then flip.   It doesn't take long,   Remove and place on paper towels to absorb the oil.  Stack pies and continue until all is cooked.  I always completely change the oil after cooking 6 pies and wipe out the skillet with paper towels to prevent burned oil.

Tuesday, June 21, 2011

Camping in Texas!


The entrance to Possum Kingdom...lots of fire damage everwhere

Will wanted us all to go on a camping trip in Texas...so off we went to Possum Kingdom Lake State Park.  Bernadette had tried to find a lake with cabins that would hold all 8 of us, but nothing was available in the entire state of Texas!  She found this and we all agreed to give it a try.  Yes, we were well aware that just a month before our visit, there had been four wildfires around and south of Possum Kingdom Reservoir that had burned about 150,000 acres and destroyed at least 149 homes.  The Park assured us that the toilets were now working and the cabins were fine.....you may smell a little smoke, but everything is OK....oh...and you have to bring all the water you will use...the water there is non potable! 
We loaded up and headed west...Michael and Sarah joined us on Sunday evening for an overnight and day visit.  What a great time of reconnecting we had!  It was HOT, the cabin was.....well...not the Ritz, but we could not have been happier!
As you can see by our pictures - we played, we ate, we boated, we ate smores, we all bunked in together, and we had a great time. 
This may just become an annual HeltonTexas event!


Sweet Jimmy....he was HOT!


So many beautiful homes on the Lake!  Several were burned.

Jimmy the fish


tired little boy

Will being Will!  He rode the tube the longest!


Jimmy passed out!


Nap time for Will after the morning on the boat

Popcicles


Boo Boo......Jimmy fell out of his chair onto the gravel  :(

Jaxon and Jimmy loved watching this crane catch fish!


My Guys!

Bern chilaxin!


Jimmy (not even 2 at the time) leaps off the boat into the lake.....many, many times....fearless!  AKA  Jimmy the Fish!